
Last year I had the crazy idea of giving our trusty wheelbarrow some well-earned TLC. Unfortunately, I decided for some reason, that the Spring would be a good time to start… I guess I thought that sanding down the paintwork would be a relatively easy task.
Needless to say, the project is taking a lot longer than I’d planned! Welcome to my Six on Saturday.
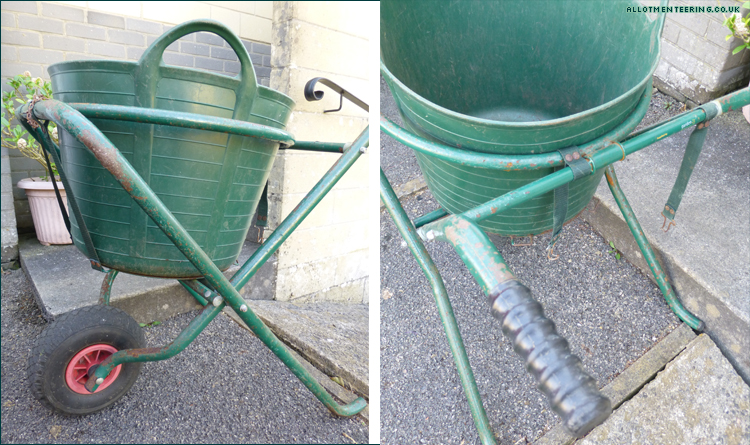
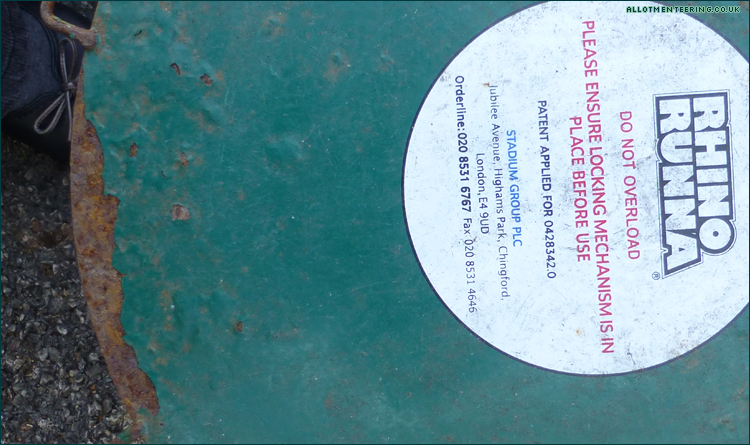
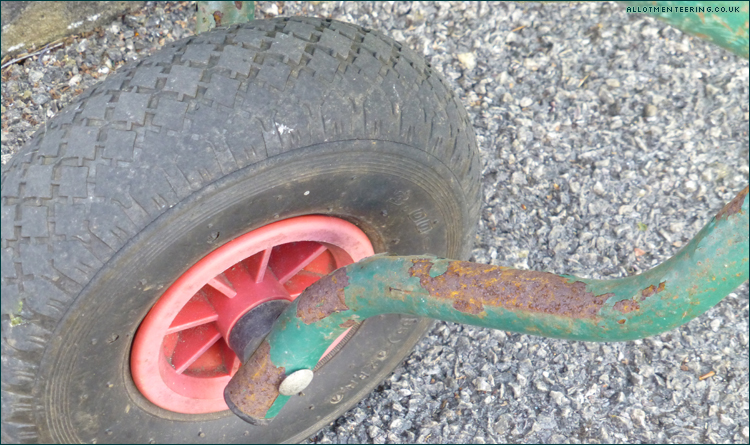
This is what we started with – an old Rhino Runna barrow, which has lots of visible surface rust, plus rust bubbling under the paintwork. It was crying out for some attention, tidying up and a fresh coat of paint. I bought some rust treatment, a can of spray paint and some sandpaper and set to work.
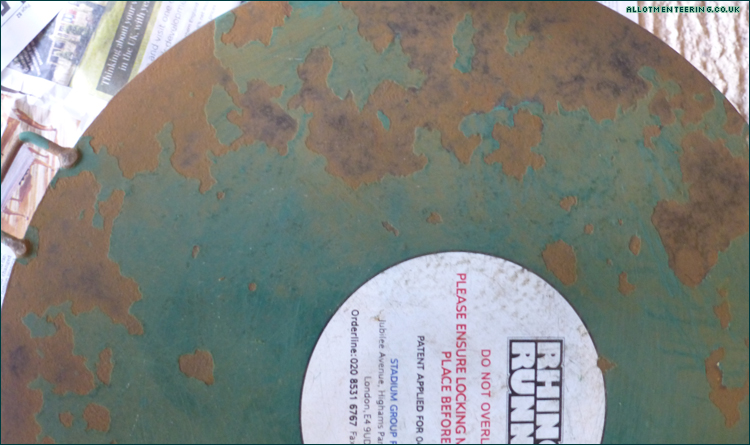
You know I said I thought it would be easy? Well I fully admit I was wrong! There’s a clear top coat to the paint, plus what feels like 5 layers of paint to sand through before you can even reach the rust. I don’t feel confident using any kind of power tools, so this is all being sanded by hand.
The paint has blistered in multiple places on the flat panel, and each time I manage to sand away the paint on the other parts, there’s more rust appearing underneath. The rust treatment / prevention stuff has to be painted directly onto the rust, so as much of that paint has to be removed as possible, otherwise I’m just going to end up in the same rusty mess again in the near future!
Considering how long it took to get this far, I was beginning to realise just how mammoth a task I’d set myself. Maybe it wasn’t such a wise idea to try renovating this after all…
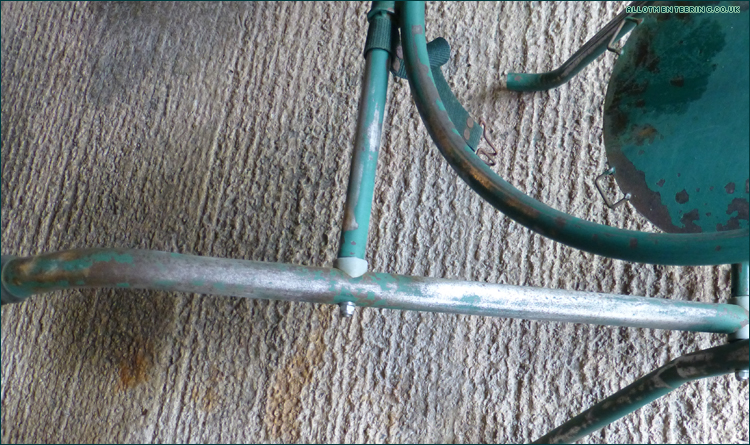
oooo do I see a space with no visible paint on it?! It took hours and even more sandpaper than I realised we had in the house, but we have semi-rusty metal visible.
Six stages later and I’d like to say this is where I realised I could actually finish the project, and show you a picture of the shiny purple finished barrow… unfortunately after that last photo, I abandoned the project for the rest of Spring as the allotment needed more attention.
Then in the summer, it really was too hot to be working on that in the garage, and of course the allotment had so much more watering necessary to keep everything alive.
And now we’re in the winter and I’ve realised just how much more there is to do on it! 😧
I was tempted to ask Father Christmas for a new wheelbarrow, but having already got the supplies to try to renovate this one, and spent so long sanding it down by hand, it seemed silly to just give in and get a new one.
Maybe I’ll be able to do another update in the early Spring and say that this has finally been finished… I don’t relish carrying everything to the allotment by hand for another year while my wheelbarrow is out of action!
Have you ever tried renovating a wheelbarrow, or taken on a project that was going to take much longer than you’d imagined, and come to regret it??
Don’t forget to check out the Propagator’s Six on Saturday and read through the comments section for more blogs to check out!
Hmmmm. I love the idea of the Rhino Runna! Is that a trug in it? is that the way it came originally? Very handy! If it was me I would get a new one and use this one as my backup and schedule a wee bit of time every week to get it done.
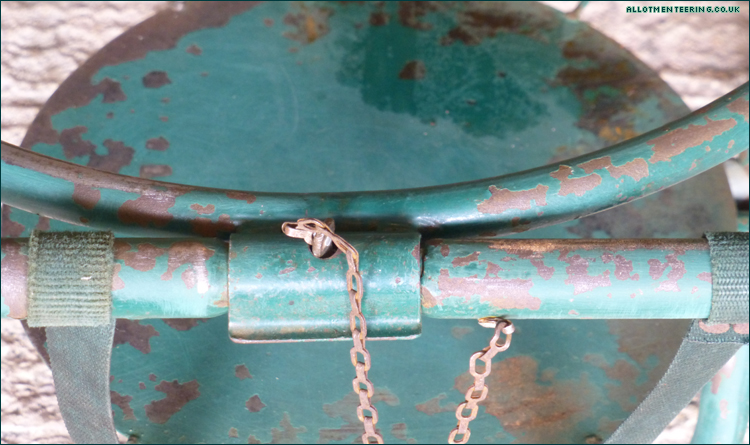
Yeah, it came with the trug / barrel thing in it – the barrow isn’t usable without it, as there’s no sides to that section, just a metal base plate and the retaining hoop at the top. With the barrel thing out, it folds flat so it takes up less space.
That’s a good idea on keeping this as a backup – that might encourage me to get it done if I know I can spend a little time each week with no mad rush!
Oh my projects like this always take longer than I think they will! Well done for getting on with a job that needs doing though. Please can you come and do mine next??
hehe only if you don’t mind the project never getting finished!
I have never seen a wheelbarrow like that before.
I convinced my husband to buy a new wheelbarrow by saying we could use it to keep beer in ice in when we had a summer party!
Admittedly this one is pretty old – a relative bought it when he was using a neighbour’s garden to grow vegetables in, then once I started on the allotment he decided I could make more use of it than he did.
Now that was a sneaky way to get him to agree! Did you end up using it for that in the end though?
I “rebuilt” my father-in-law’s wooden wheelbarrow that had been made by his father so is probably about 80 – 90 years old. I started rubbing it down but soon realised that the paint was holding it together! I gave up and built a new one with odd bits of wood in the garage. I used the website “Woodworking for mere Mortals”. My result was rather rustic but no worse than the pattern! Anyway, the only parts of the original are the wheel and the leg “protectors”! One of my grandsons stained it for me and our old cat is modelling it on my email logo. No help with your metal one though!!?
Whoa, that sounds like more of a project than this one! I wouldn’t have the confidence to even attempt that, given that my only other woodwork was a not-quite-rectangular raised bed!
Sounds like you did a great job on it though!
Looks like a project to keep you busy! Interesting looking wheelbarrow.
It’s definitely a longer-term project than I’d originally thought!
I have a sort of circular wire brush attachment for my drill. Would make short work of the paint removal I think! Good luck with finishing it off.
That’s an idea – I’ll have to see if a neighbour has that kind of thing I could borrow (I don’t even have that kind of drill!). Thanks 🙂